iLedFitness Manual
Product Introduction
Welcome to Your Product Manual
Thank you for purchasing this product! Please read this manual carefully before using it to ensure correct and safe use. We are committed to providing you with the best products and service. Thank you for your trust and support!
Precautions
Product Diagram
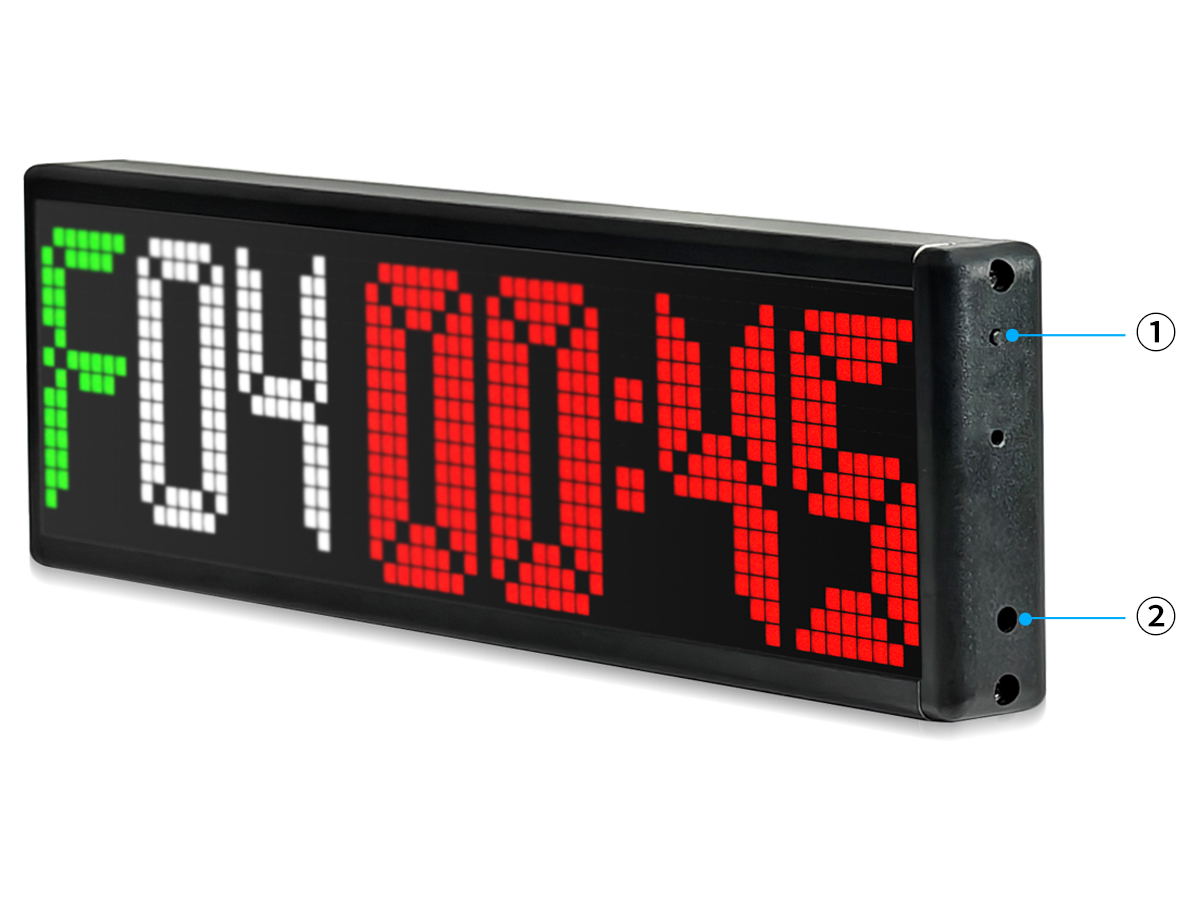
- 1Button
- 2Power port
Button Functions:
Button
- Press and hold to turn the display on or off.
- Press and hold longer to restore factory settings.
App Download
Please use your browser to scan the QR code to download the app. Apple users can search for "CoolLED1248" in the App Store to download it.
(3 in 1)
If you cannot scan this 3-in-1 QR code to download, you can also scan the following two QR codes to download.
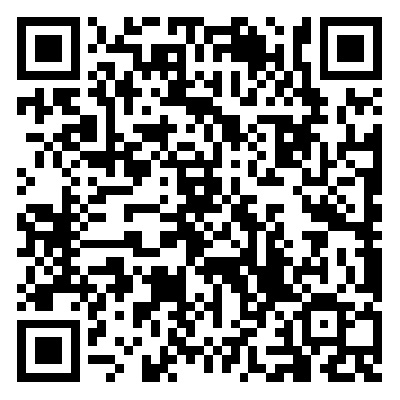
App Store
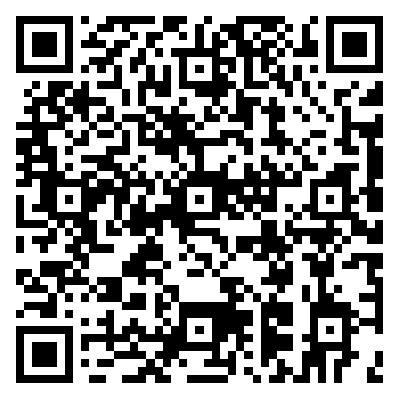
Google Play
Connect Device
Before connecting the device, please connect the device correctly according to the connection diagram, power on the device, and keep the device turned on to ensure that the device can be successfully connected and used.
- Please allow the app to request necessary permissions to ensure the normal functioning of the app.
- In order to use this application, you need to turn on the Bluetooth of your mobile phone. Please authorize to turn on Bluetooth in the application.
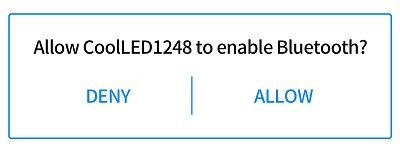
- The app will automatically search for display devices and display them in the device list. If the search fails, pull down to refresh the device list to search again.
- Please click the device you want to connect to and wait for the device to connect successfully. If the connection fails, pull down to refresh the device list and then reconnect the device.
Device list
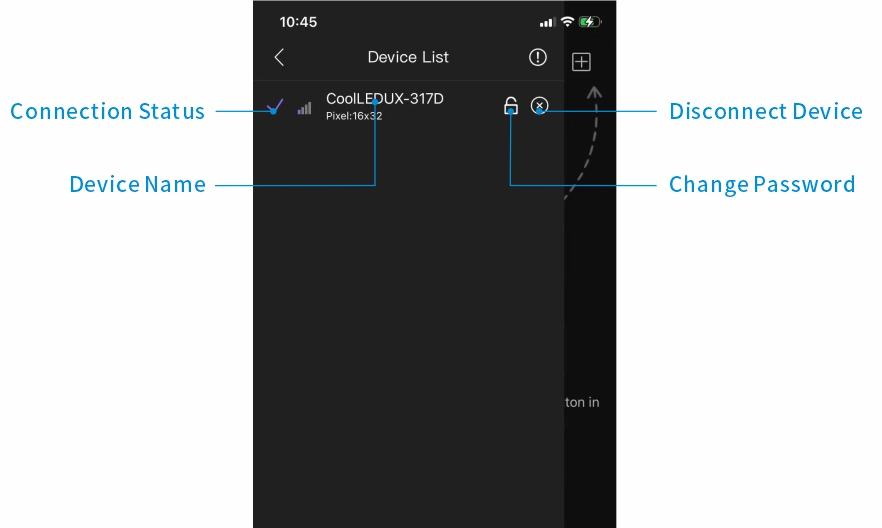
- Please pull down to search for a device.
- If the device cannot be searched for several times, please check whether the permissions are enabled and restart the device.
Start Workout
Open the workout screen, choose Quick or Advanced mode, and tap Start to begin your workout.
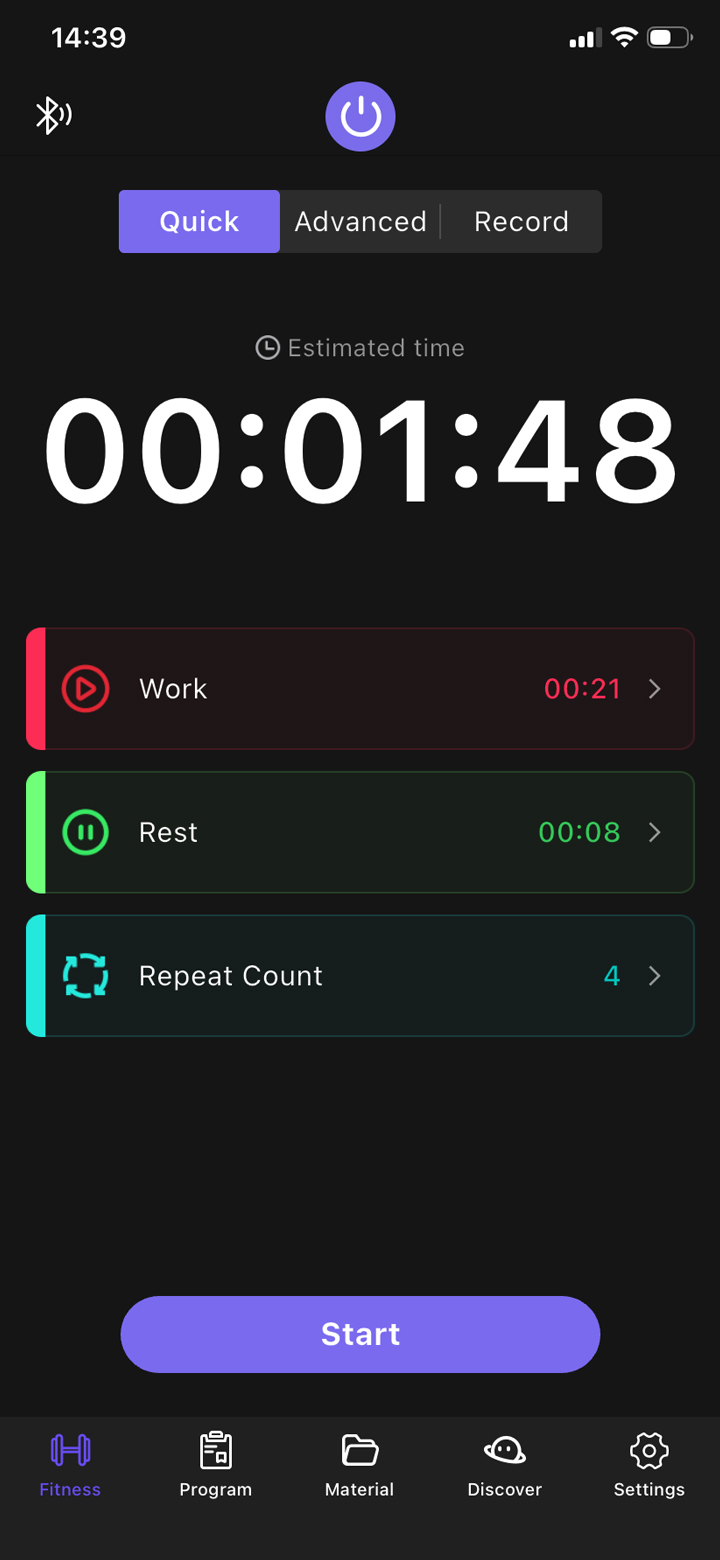
Quick Mode
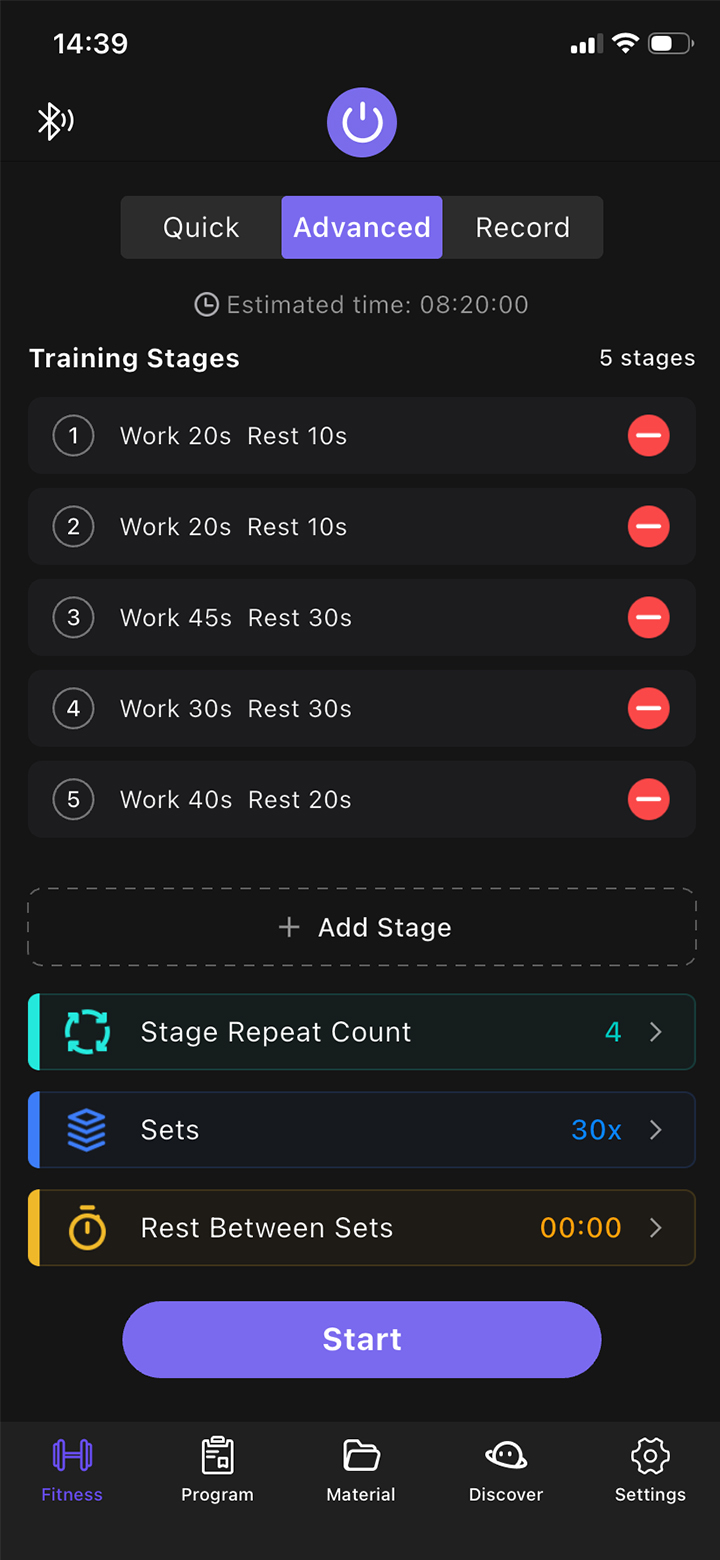
Advanced Mode
Modes
- Quick Mode: Start a workout quickly and easily for everyday exercise needs.
- Advanced Mode: Customize workout stages and combinations for more complex, structured training.
Sync Time
After the device loses power, or if the time is inaccurate, connect the device via the app, go to the settings page, and manually sync the local time to the device.
Remote Control
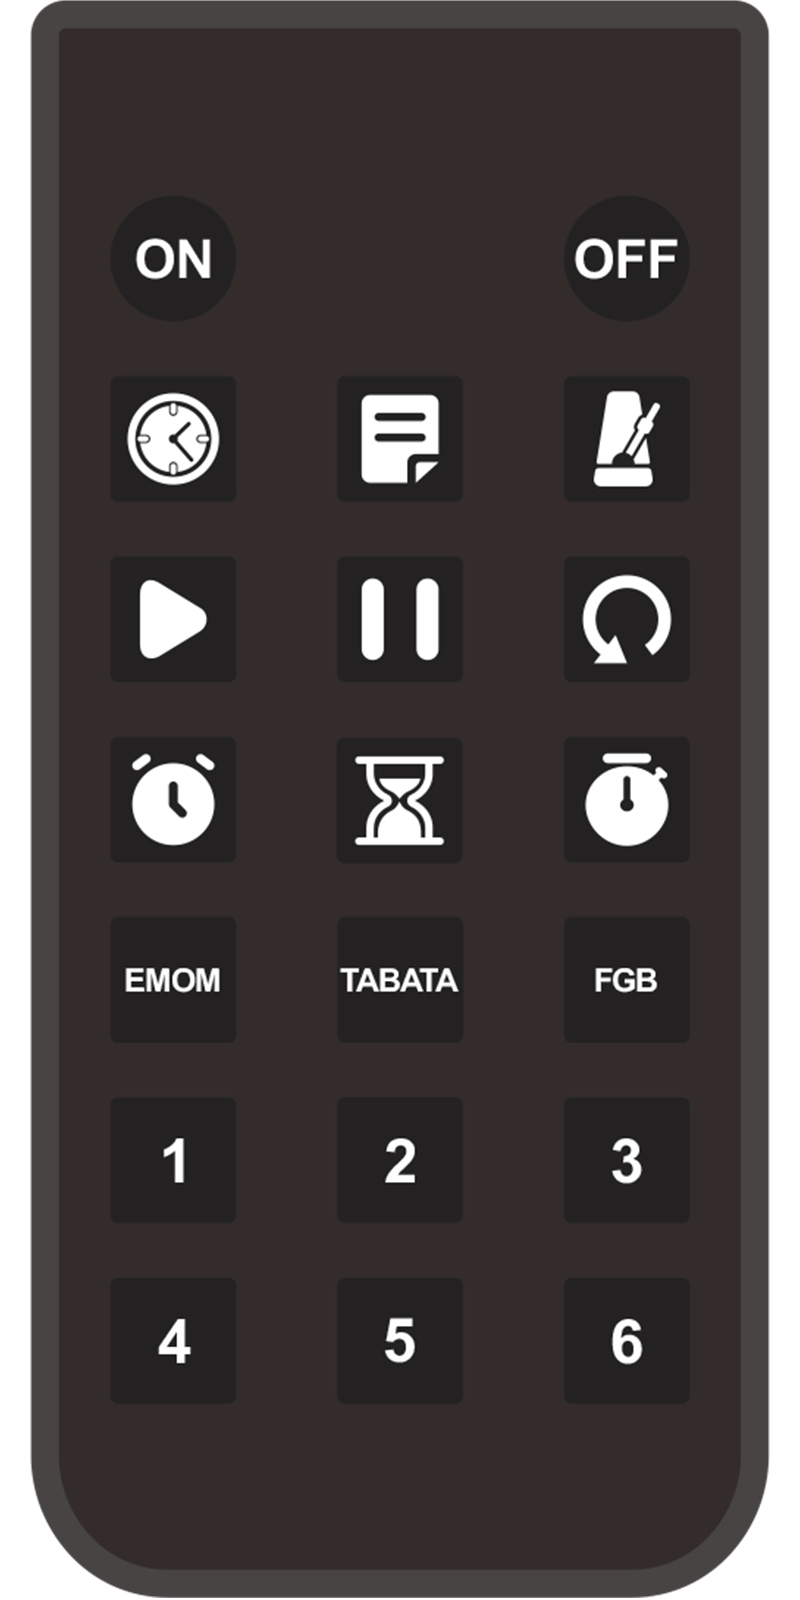
Remote Control Buttons
- ON: Turn on the device.
- OFF: Turn off the device.
- Clock: Display the time.
- Program: Automatically cycle through programs.
- BEAT: Metronome function; adjust the tempo in the app.
- Start: Start the workout.
- Pause: Pause the workout.
- Reset: Reset the current workout.
- UP: Count up and stop at the specified time; set the time in the app.
- DOWN: Count down from the specified time to zero; set the time in the app.
- STOP-W: Stopwatch.
- EMOM: Preset workout mode with 60 seconds of work and 0 seconds of rest, repeated 17 times.
- TABATA: Preset workout mode with 20 seconds of work and 10 seconds of rest, repeated 8 times.
- FGB: Preset workout mode with 5 minutes of work and 1 minute of rest, repeated 5 times.
- 1–6: Custom workout modes; adjust their settings in the app.
Pairing and Unpairing the Remote
- Make sure the device is operating normally.
- Press and hold the ON button until the pairing icon appears on the display. This indicates that pairing succeeded.
- Press and hold the OFF button until the unpairing icon appears on the display. This indicates that unpairing succeeded. The display may turn off; this is normal.
Tips
- You can customize the remote buttons under Settings > Remote Control in the app.
- After pairing, only the paired remote can control this device.
Help & Feedback
- If you want to know more about the product, how to use it, and solutions to common problems, please check the [Help Center] in the APP settings menu.
- If you have any comments, suggestions or need help with our products, please contact us through [Contact Us] in the APP settings menu.
RF Information
Wireless Standard: Bluetooth Low Energy (BLE)
Frequency Range: 2402MHz-2480MHz
Max Transmit Power: 1mW
Class III Appliance Warning
This appliance must only be supplied by a safety extra-low voltage corresponding to the marking.
Maintained by the official CoolLED1248 team.